Position Sizing: How Much to Risk Per Trade (With Examples)
Fixed-fractional position sizing explained with worked examples in neutral units, plus the common mistakes to avoid.
Ask a group of traders how they decide how much to buy, and you will hear a wide range of answers: "whatever feels right", "as much as my margin allows", "the same lot size every time". Only one of those answers survives contact with a losing streak, and it is none of those. The approach that most educators and risk managers teach is fixed-fractional risk: you choose how much you are willing to lose on a trade, and you let the stop distance decide the size of the position.
This guide explains that method step by step, with worked examples in neutral units so that it applies to any market, then covers the mistakes that cause most sizing problems. It is educational, not advice, and it does not recommend a particular risk amount: that is a decision for you, your account and your tolerance.
Why size matters more than most people think
Entries get most of the attention, but size decides how much any single outcome matters. Two traders with the same entries and exits can have very different results if one risks a small amount per trade and the other risks a large one. The first can lose several trades in a row and still be in the game with a clear head. The second may lose a large part of the account in the same run, and with it the ability to think straight.
There is also an asymmetry that is worth understanding before you set a number. A loss and the gain needed to recover it are not equal. If you lose half your account, you need to double what is left to get back to where you started. Small losses are easy to recover from, and deep losses are not. Keeping each loss small is therefore less about caution for its own sake and more about staying in a position where recovery is realistic.
The idea in one sentence
Decide the amount you will risk on the trade, find the distance from entry to the point where your idea is wrong, and divide one by the other.
Position size = amount at risk divided by stop distance.
The amount at risk is usually set as a fixed fraction of your account, which is why this is called fixed-fractional sizing. The stop distance comes from the chart, not from your wishes. Those are two separate decisions, and mixing them up is the source of most mistakes.
Step 1: choose the risk per trade
Pick a small fraction of your account that you can lose without it affecting your decisions. Many educators suggest keeping it small enough that a long losing run is survivable, but the right figure depends on your account, your experience and, if you trade an evaluation or funded account, that account's own loss limits. We are not going to name a number for you, because a number copied from someone else rarely fits.
A useful test is to ask yourself how you would feel, and what you would do, after five losses in a row at your chosen size. If the honest answer is "I would start breaking my rules", the size is too big. Write the figure in your trading plan, as a fraction of the account.
Step 2: find the stop from the chart
The stop belongs where the trade idea is no longer valid, for example beyond the swing point that your setup relies on. It is not a number you choose to make the maths look nicer. If the chart says invalidation is a long way from entry, the correct response is a smaller position, not a tighter stop that will probably be hit by normal movement.
ChartViews AI has two good companion reads on this: how to set a stop loss and trade invalidation.
Step 3: calculate the position
Here is a worked example in neutral units, so you can see the arithmetic without any market's specifics.
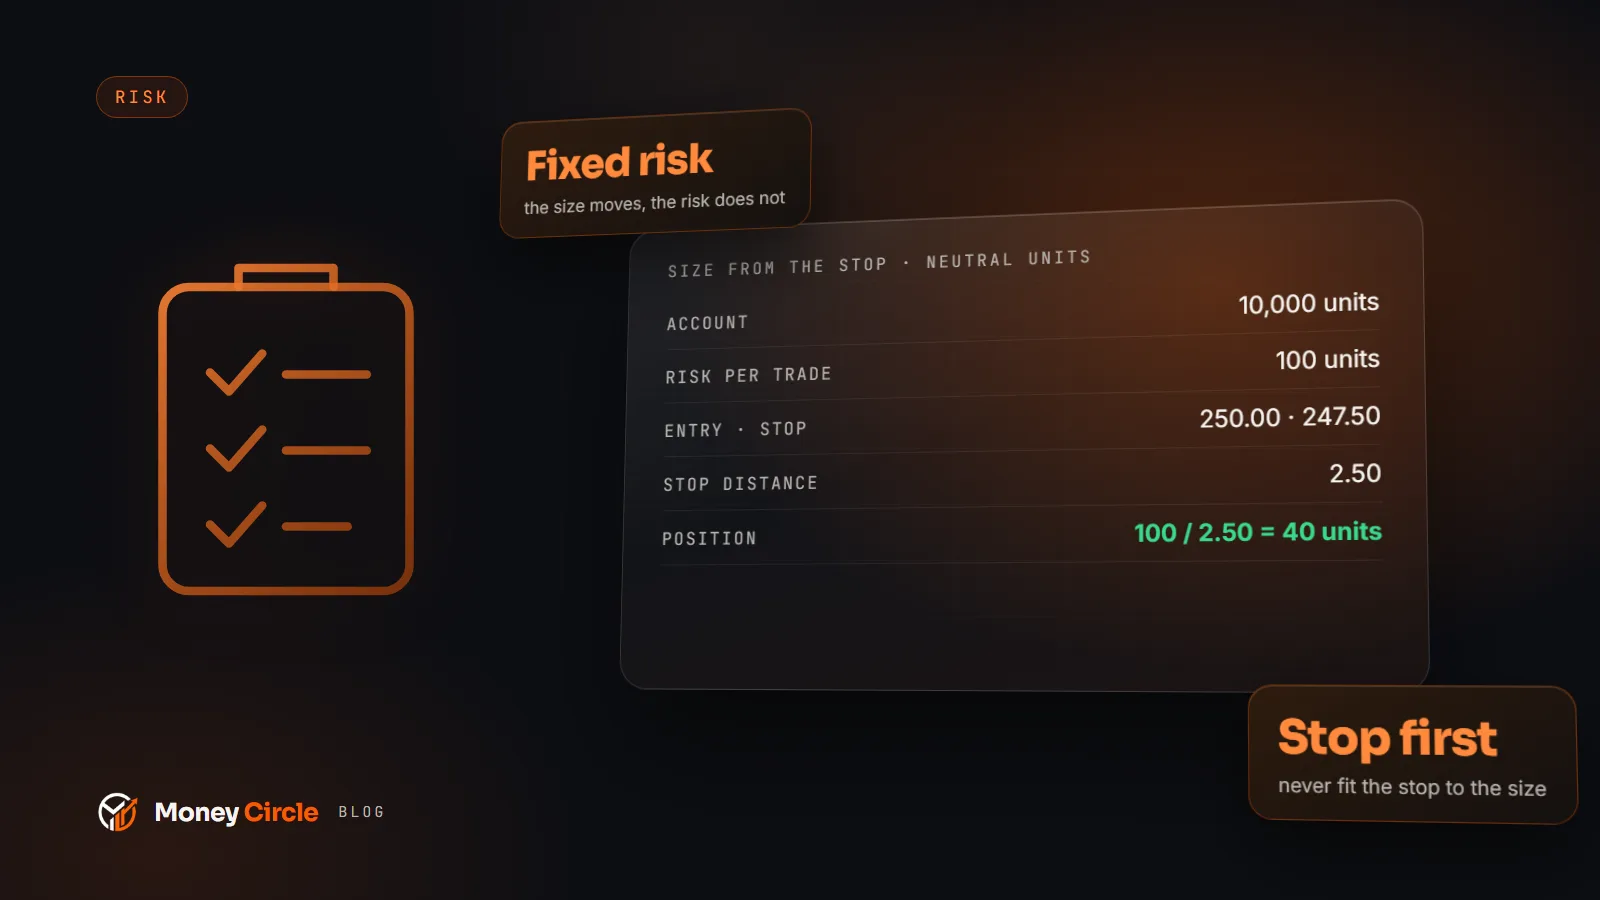
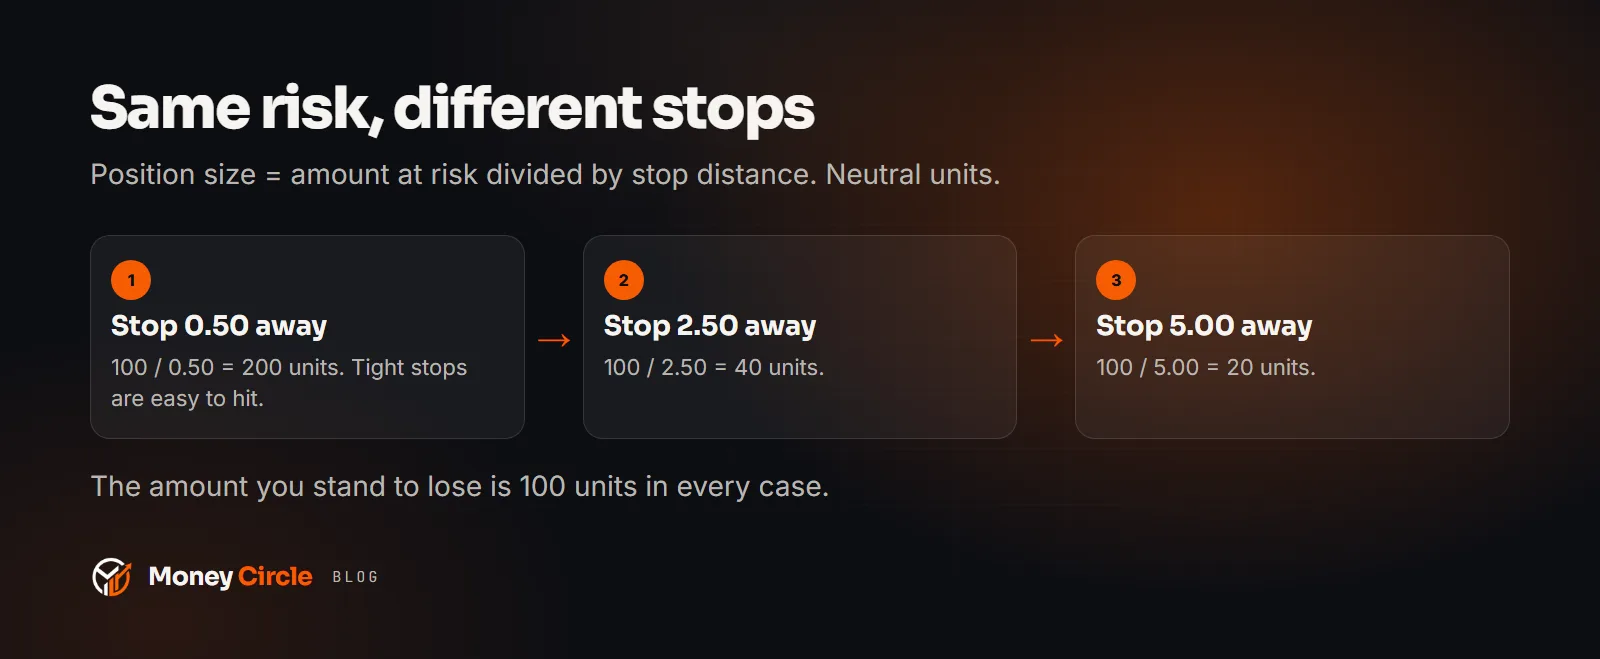
Example A. The account is 10,000 units. You choose to risk one percent per trade, which is 100 units. You want to buy an instrument at 250.00 and your chart says the idea is invalid below 247.50. The stop distance is 2.50 price units. Position size = 100 divided by 2.50 = 40 units. If the stop is hit, you lose about 100 units, as planned. If the trade works, the outcome depends on your target, not on your size.
Example B. Same account, same risk amount, but a different setup: entry at 250.00, invalidation at 245.00, so the stop distance is 5.00. Position size = 100 divided by 5.00 = 20 units. The wider stop gives half the position, and the potential loss is the same 100 units.
Example C. A tight setup: entry at 250.00, invalidation at 249.50, a distance of 0.50. Position size = 100 divided by 0.50 = 200 units. This is where you must be careful. A tight stop gives a large position, and the stop is more likely to be hit by ordinary noise or a wider spread. A large position on a very small stop is not automatically safer.
Notice what stays constant in all three examples: the amount you stand to lose. Only the size changes, and it changes because the chart changed.
In real markets, add the practical details: convert the stop distance into your account currency using the instrument's contract specifications, round the size down to the nearest tradable increment, and allow for the spread and for possible slippage. Check the numbers on your platform's own calculator before you rely on your arithmetic. The fixed-percentage method is also explained in the ChartViews AI guide to position sizing basics, and the link between risk and target is covered in its piece on the risk to reward ratio.
Fixed risk versus fixed size
Many beginners trade the same lot size every time. It is simple, and it is a trap, because the money at risk then changes with every stop distance. Trade 40 units on a stop of 2.50 and you risk 100; trade 40 units on a stop of 5.00 and you risk 200, twice as much, without having decided to. Fixed risk means the opposite: the money at risk is constant and the size moves.
Common mistakes
Sizing from the account size instead of the stop. "I have 10,000 units so I will put a tenth of it in this trade" says how much money is committed, not how much you can lose. The loss is decided by the stop distance and the size together.
Moving the stop to fit the position. If you decide on a size first and then place the stop where it suits that size, the stop no longer reflects the trade idea. Always size from the stop, never the other way round.
Widening the stop after entry. This turns a planned small loss into an unplanned larger one. If your plan says the risk is a certain amount, widening the stop breaks the plan. Write "I do not move a stop further away" into your trading plan.
Ignoring correlation. Three long positions in related markets can behave like a single, larger position. Count correlated trades together when you add up your open risk.
Adding to a loser. Averaging down increases the risk on an idea that has already shown it may be wrong. If you add, add to a winner on a new valid signal, and recalculate the total risk.
Raising size after a streak. A run of wins feels like proof, and the urge is to size up. A run of losses creates the opposite urge, to size up to win it back. Both are emotional decisions. Trader Reflect has a good article on sizing up after a winning streak, and another on revenge trading. Your written rule should say that size changes only through a deliberate review, not in the middle of a session.
Forgetting the cost of the spread and fees. On a very small stop, the spread can be a large share of your risk. Include it.
Not having a daily limit. Per-trade risk protects you from one bad trade. A daily stop protects you from a bad day made of many. Put both in the plan.
Put the rule in your plan
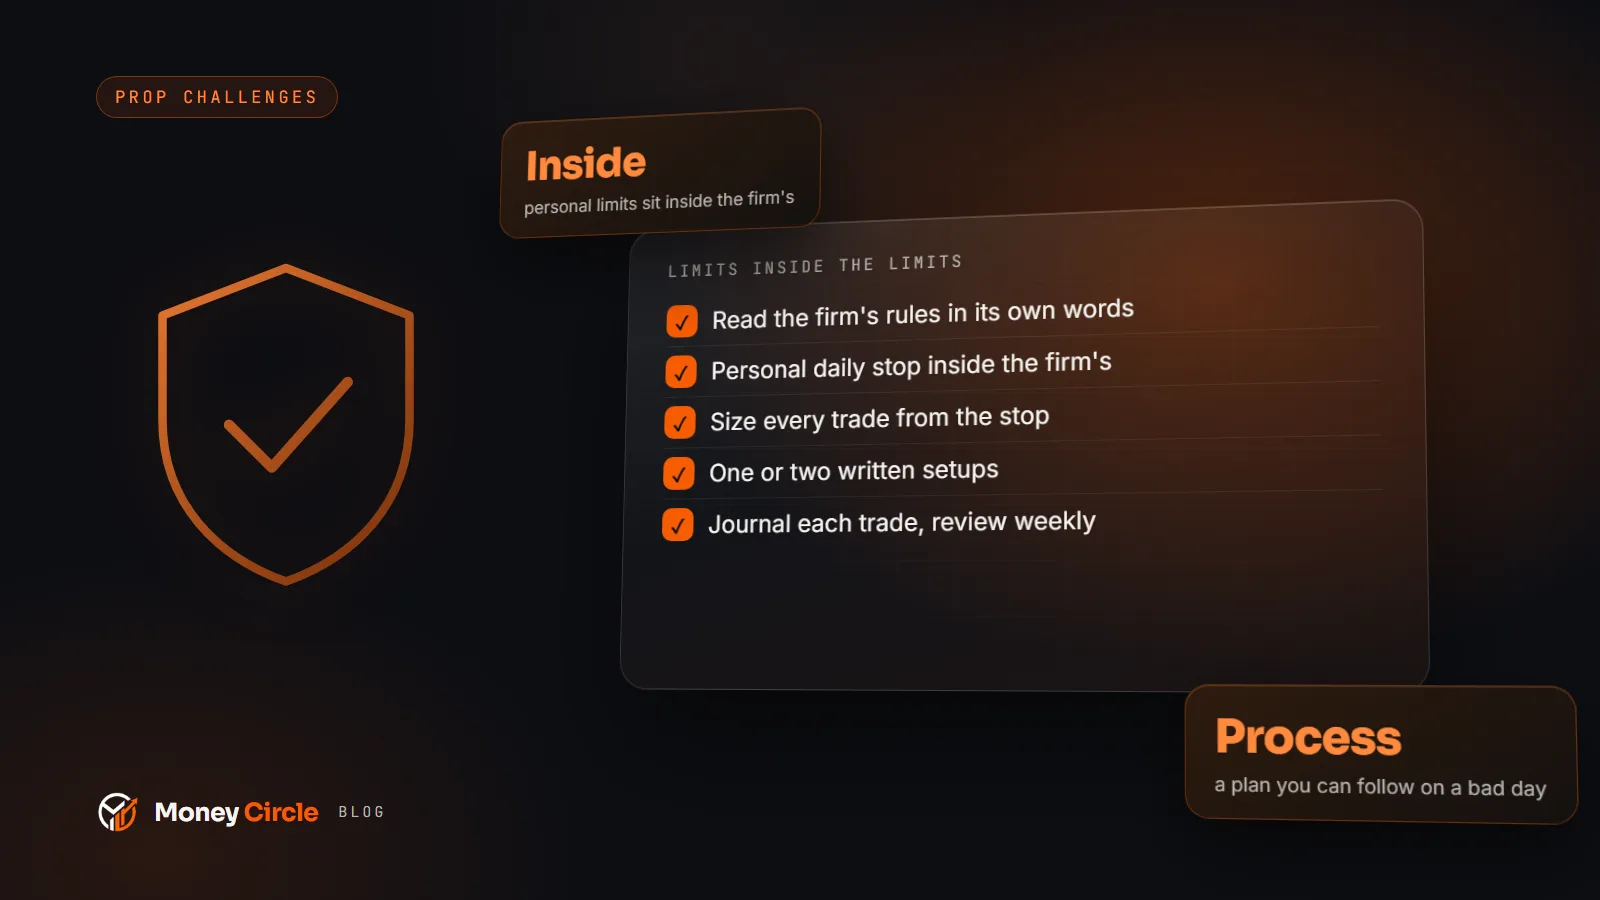
Write these lines in your trading plan, and tick them after every trade in your journal:
- My risk per trade is a fixed fraction of my account, written here.
- I size every position from the distance to my stop, using the formula.
- I do not widen a stop or add to a loser.
- I count correlated positions together.
- My daily stop is written here, and I stop when I reach it.
Practice before you risk real money
Take five of your recent chart ideas, or any five charts, and work out the position size for each using the same risk amount. Notice how the size moves with the stop. Then do it live on a demo account for a couple of weeks, journaling each trade with a yes or no for "did I size from the stop?" Review it once a week, using our weekly trading review routine. The goal is for the calculation to become boring, because boring is what keeps you consistent.
Remember that position sizing limits how much you can lose on a trade; it does not remove the risk of losing, and it does not make any setup profitable. It makes your results survivable while you learn.
Educational content, not financial advice. Trading involves risk of loss.
Learn it, log it, review it on Money Circle
Included with every paid Money Circle membership: Trader Reflect and 2 ChartViews AI analyses a day.
Guides
Continue in the ecosystem
 ChartViews AI
 Trader Reflect
More from the Money Circle Blog
Get the free Trading Plan Template
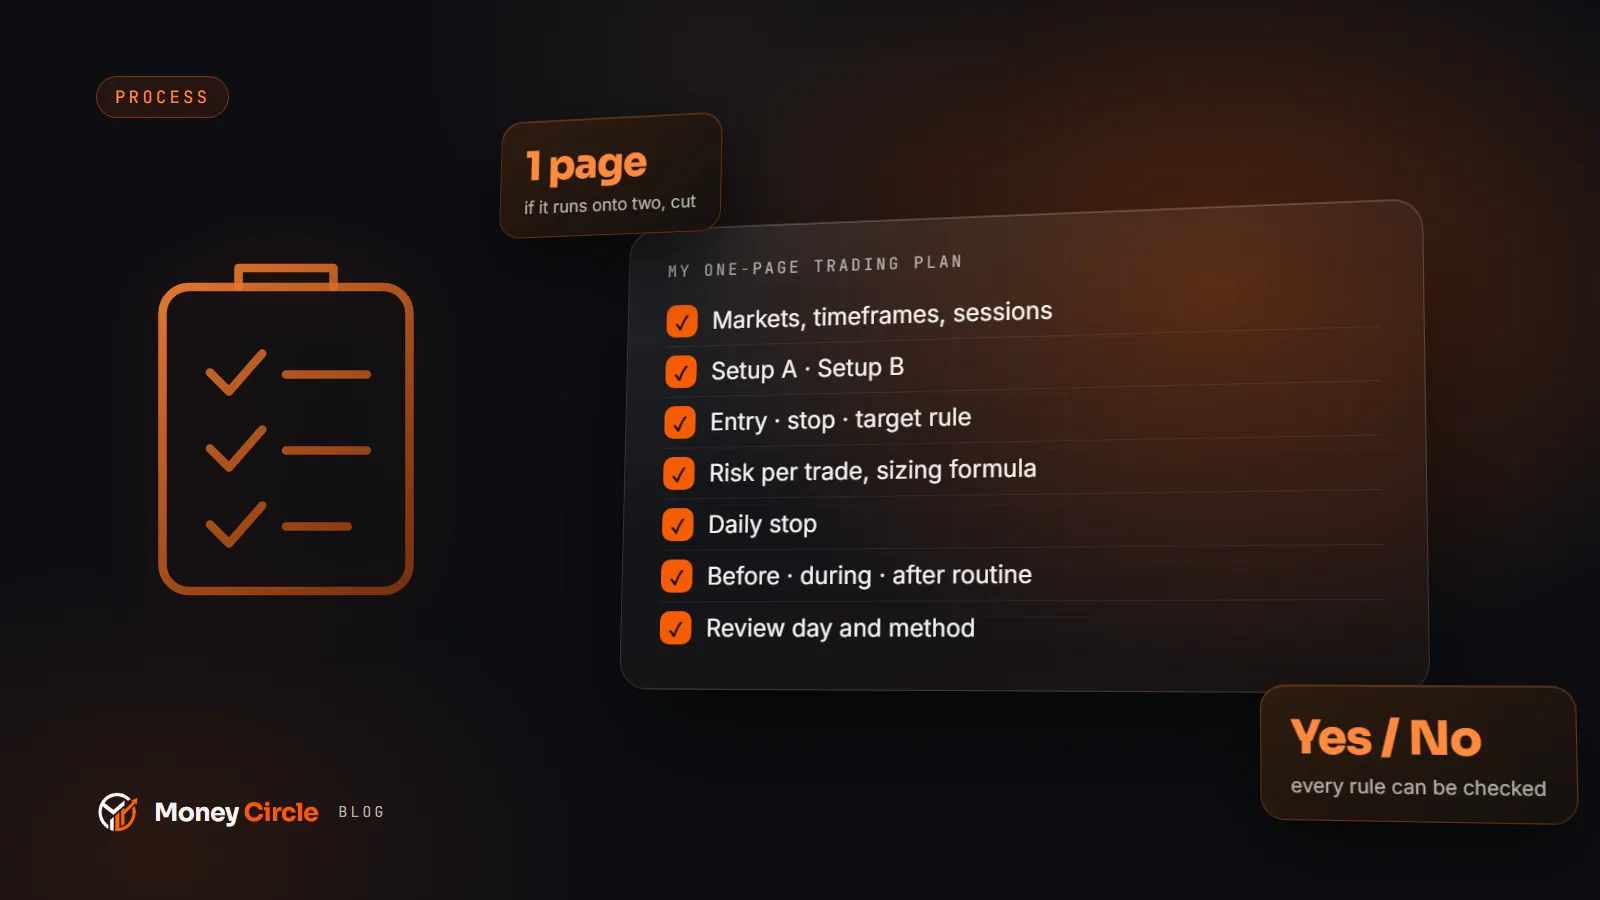
A printable plan with your rules, risk and review routine, plus the weekly market outlook by email. Unsubscribe anytime.